After linking our Lightspeed account, some last adjustments will need to be done.
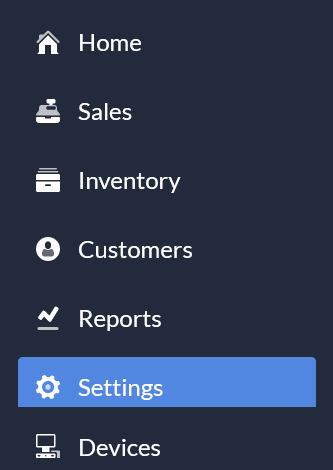
From the dashboard, click on the "Settings" button which is located at the bottom the menu.
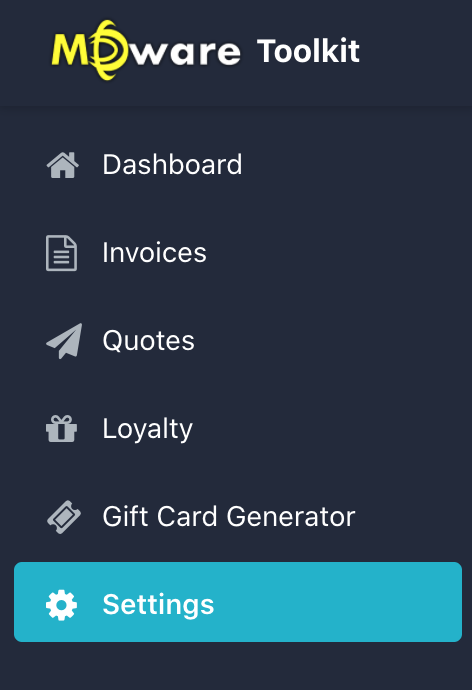
Here we will look at the "Invoice settings"
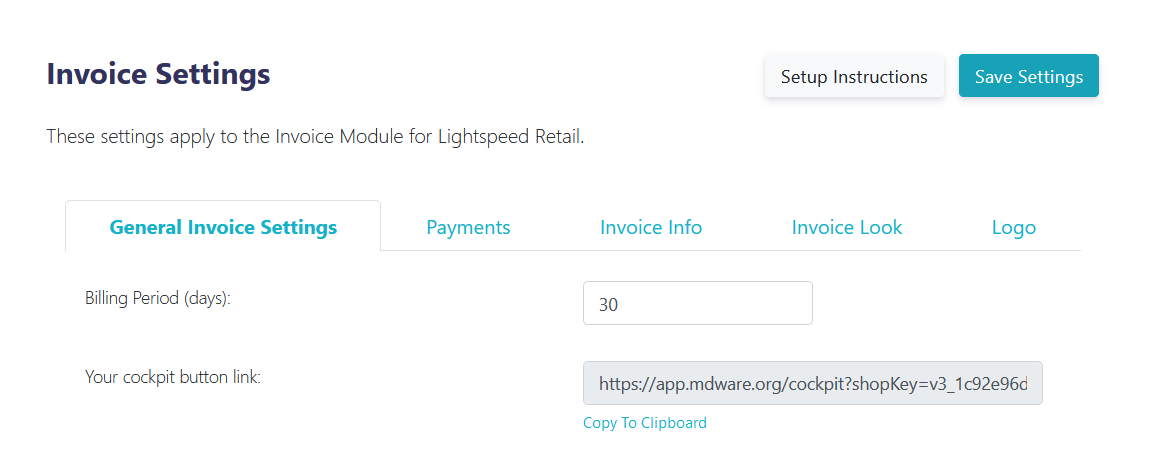
Adjust your billing period (the time the customer has to meet the invoice). This will apply to outstanding invoices. You can choose to either make a paid or an outstanding invoice.
Save any changes with "Save"
There are 2 options: either you choose to limit the payment options in MDware Cockpit or you choose not to.
If you turn the switch off, the payment methods won't be limited and all payment methods will be shown in MDware Cockpit.
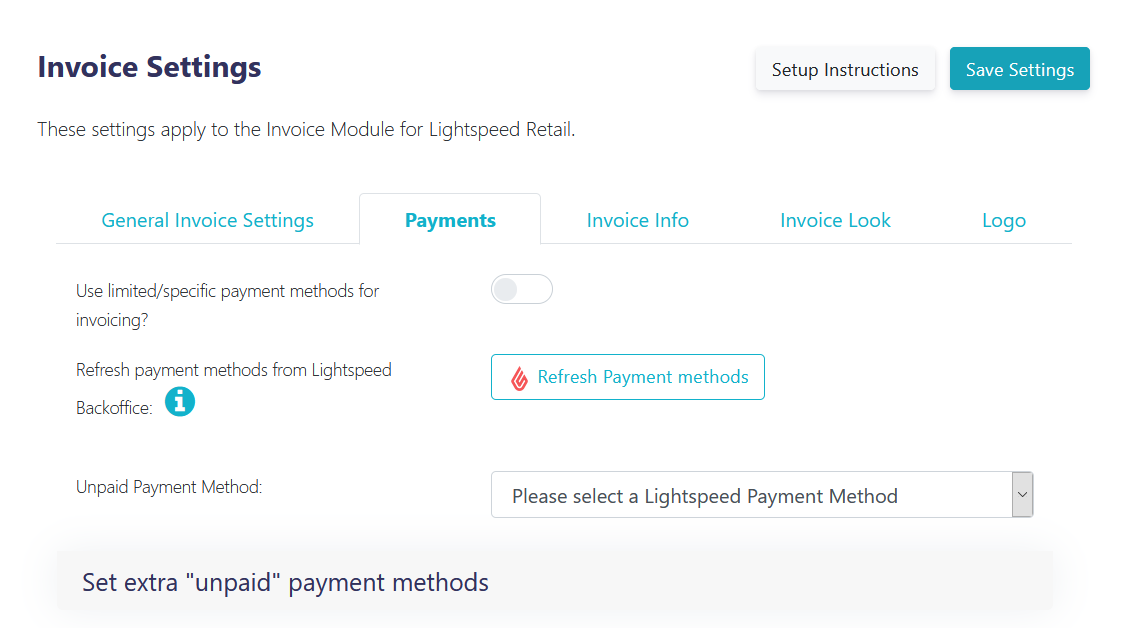
If you do wish to limit the payment methods, the switch needs to be turned on. In that case only the payment methods that are specified under the switch will be shown in MDware Cockpit.
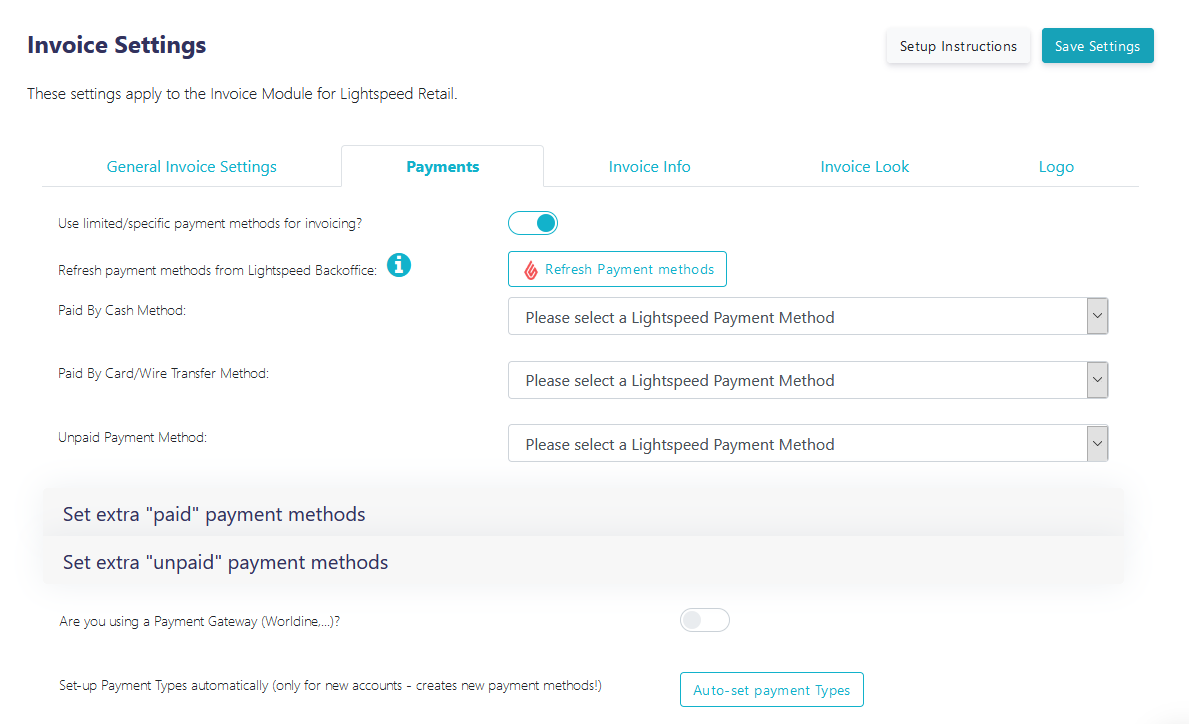
In both cases it is recommended to add a new "unpaid" payment method called "outstanding amount". Please follow these steps:
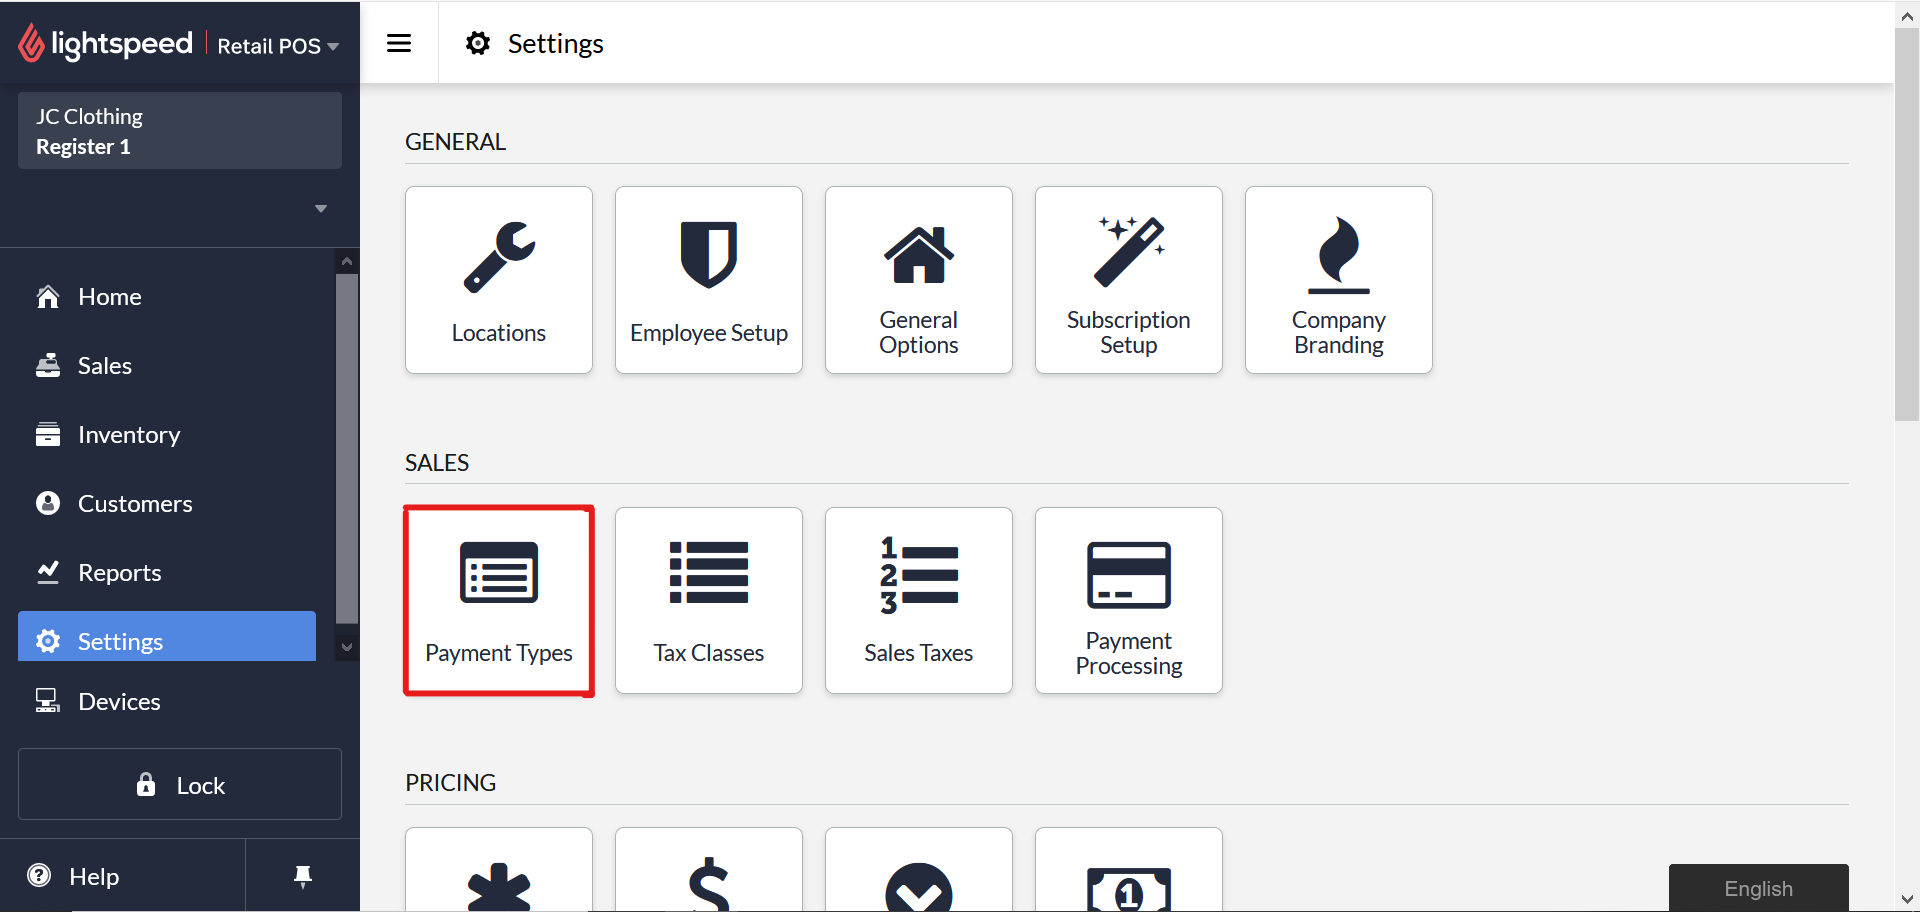
Go to "Settings" in Lightspeed Retail
Next, go to "Payment Types". This can be found under "Sales"
Now, click on the green "+ New Payment Type" button
Now you can create a new payment type for an "Outstanding Amount"

Don't forget to click on "Save Changes"
It is important to note that an unpaid invoice doesn't automatically correspond to an unpaid sale in Lightspeed.
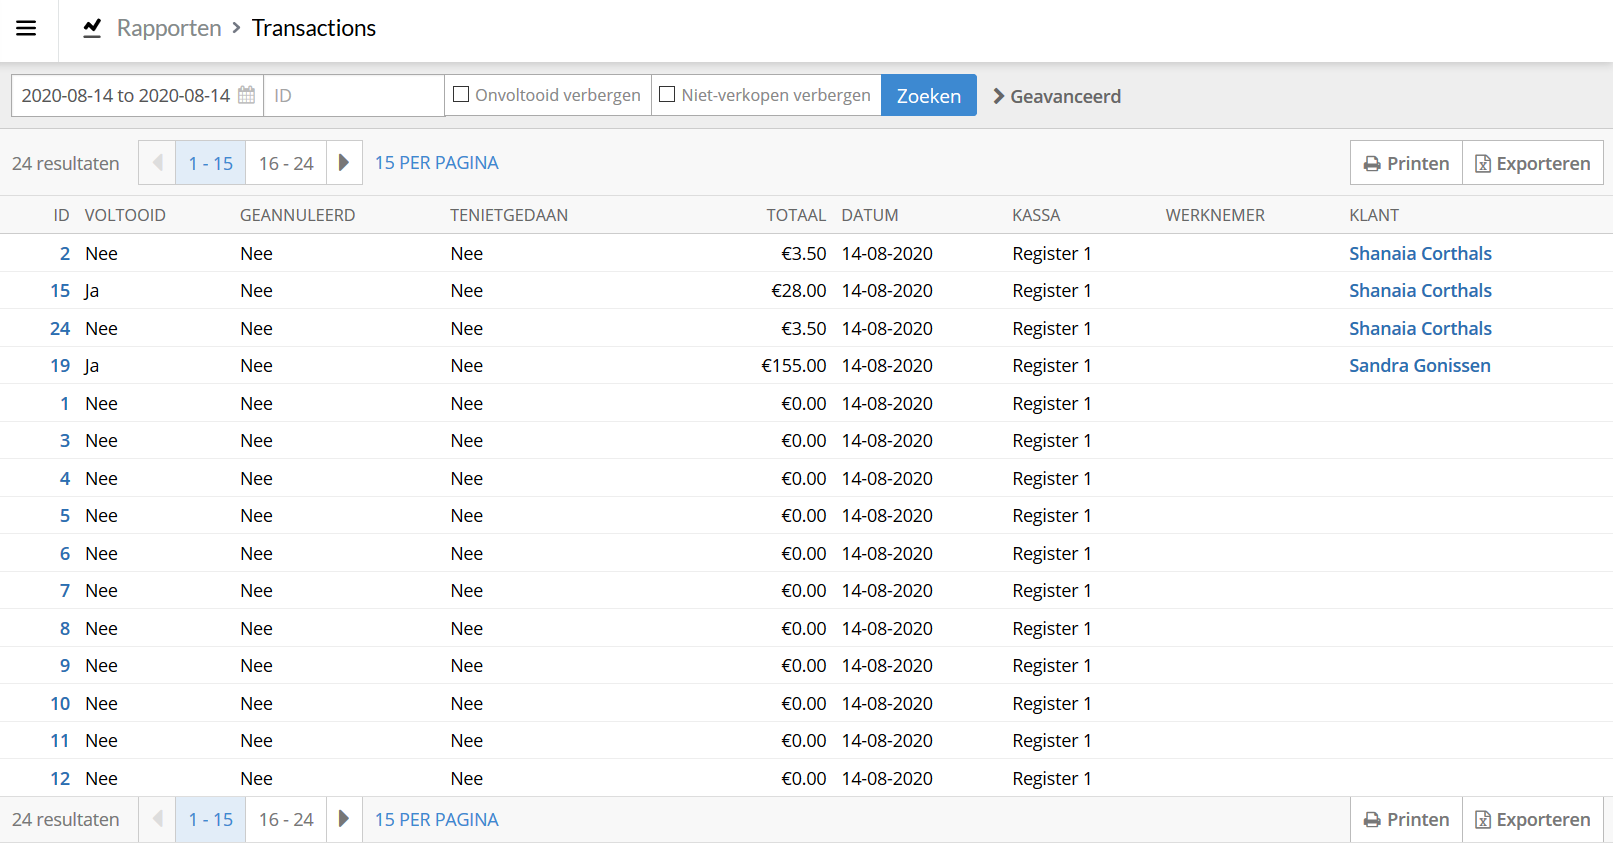
The payment methods that are mentioned and configurated above, are used when a sale is made for which an invoice is required. In the list of transactions it is easy to see if an invoice is completed.
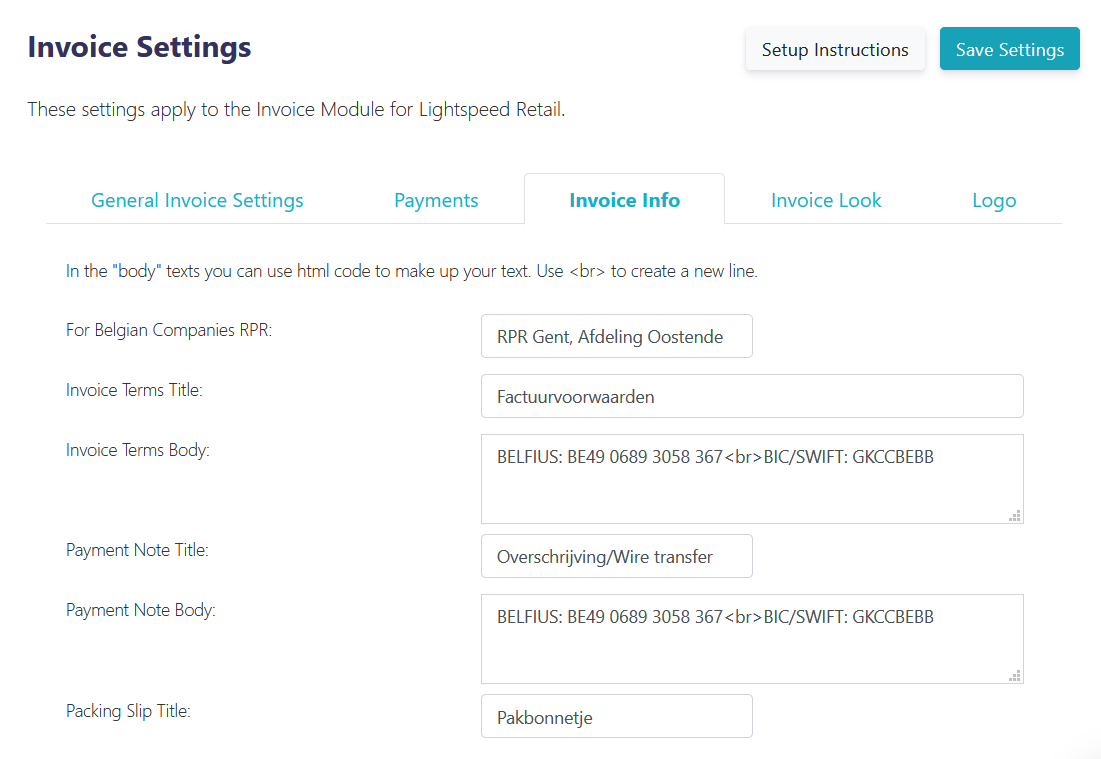
In the "Invoice info" tab the following fields can be adjusted:
RPR
Legal Register. Required if you own a Belgian company.
Invoice Terms Title & Invoice Terms Body
Enter information about payment terms and conditions. In the text field, you can use HTML.
Payment Note Title & Payment Note Body
Enter information about bank account and payment instructions. The text field can use your HTML.
Packing Slip Title
Enter the title that will be shown on the packing slip.
Save any changes.
Congratulations, everything is set. Now the fun part begins.